How to Add, Change, or Delete a Family or Member Photo
If you are adding a photo, the photo must conform to the following specifications:
● Acceptable formats are .jpg, .gif, .png, or .bmp only.
● Maximum allowed size is no larger than 0.5 megabytes.
The image will be displayed at a resolution of 130x110 pixels.
- Click
 .
.
- (optional) In the Search fields, type the name of the family or member whose record you want to view. Then, click
 .
.
- Select the link the under family's or member's name.
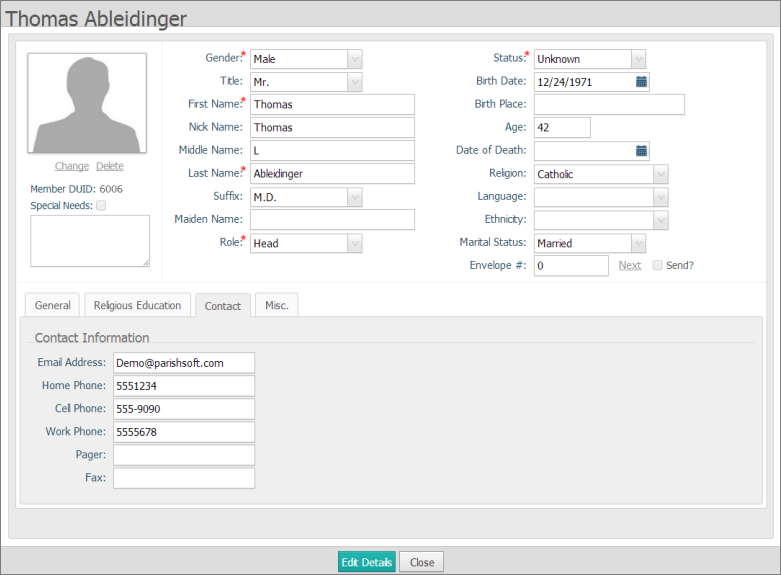
The family record is displayed. For example:
 The record is in read-only mode.
- Click
 to put the record in edit mode.
- Do one of the following:
- To change the family photo, make sure that the Family Details tab is selected.
- To change a member photo, select the Member Details tab. Then, select the individual family member's tab.
- Do one of the following:
- To add a new photo or change the current one:
- Select the Change link under the current photo or photo placeholder to display the Upload Family Photo or Upload Member Photo window.
For example:

- Click
 and then navigate to the image file on your laptop or PC. Select the file to upload it to the application.
- After the image file uploads, click
 to save the photo.
- Click
 to continue editing the record or click
  to exit.
OR
- To delete the current photo:
- Select the Delete link under the photo.
- When prompted to confirm the deletion, click
 .
.
The application removes the photo and replaces it with the "No Photo" placeholder symbol.
- Click to continue editing the record or click to exit.
Related Topics
About Pictorial Directory
<Back to top>