The Life Events report collects an organization’s life events data from multiple member records, enabling you to view this information in a central location instead of having to locate it in individual member’s profiles.
![]() You must have
Family Directory View + Add/Edit + Print permissions to create this report.
You must have
Family Directory View + Add/Edit + Print permissions to create this report.
Open Family Directory.
Click  to
display the Family Directory Reports page.
In the Organization list, select the desired organization.
Select Census > Life Events to display the report setup.
Set up the report by completing the following:
If desired, use the Date filters to find event records in the report that meet your date criteria:
Start date and end date: to find event records within a specific period, select a date in the Start Date and End Date fields.
The system pulls all records that fall within the date range you specify. The system also pulls records that match the date in the Start Date field but have no value in the End Date field.
Start date only: to find event records with a specific start date, select a date in the Start Date field and leave the End Date field blank.
The system pulls all records with a start date on or after the date selected in the Start Date field.
End date only: to find event records with a specific end date, leave the Start Date field blank and select a date in the End Date field.
The system pulls all records with an end date on or before the date selected in the End Date field.
To restrict the data in the report to specific groups, select the desired Membership and Student Status filters.
In the Event Category group, select the event categories to include in the report. Then in the Events group, select the specific life events of interest.
Generate the report. To do this, click the desired report format buttons:
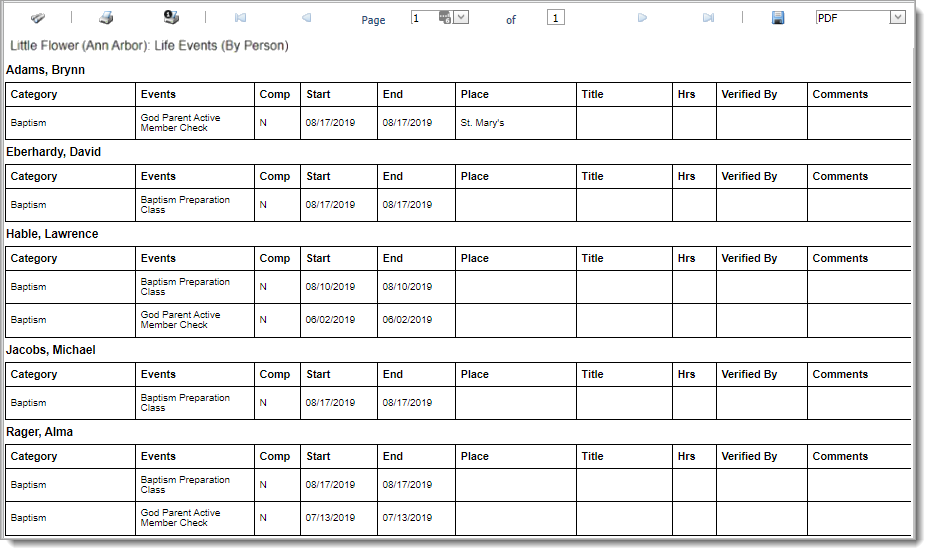
Group By Person
Organizes the report content in alphabetic order by individuals' first and last names. The illustration below shows an example of a Life Events report in which event records are grouped by person.

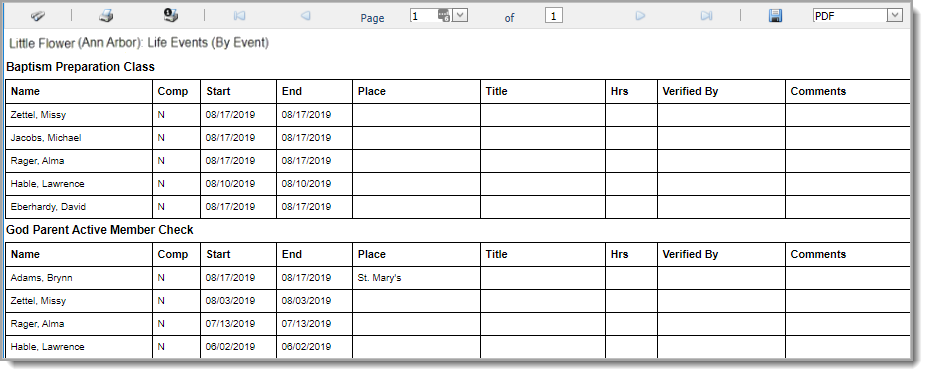
Group By Event
Organizes the report content in alphabetic order by event category. Within each category, the list of events is organized alphabetically. The illustration below shows an example of a Life Events report in which the event records are grouped by event.

About the Family Directory Reports Page