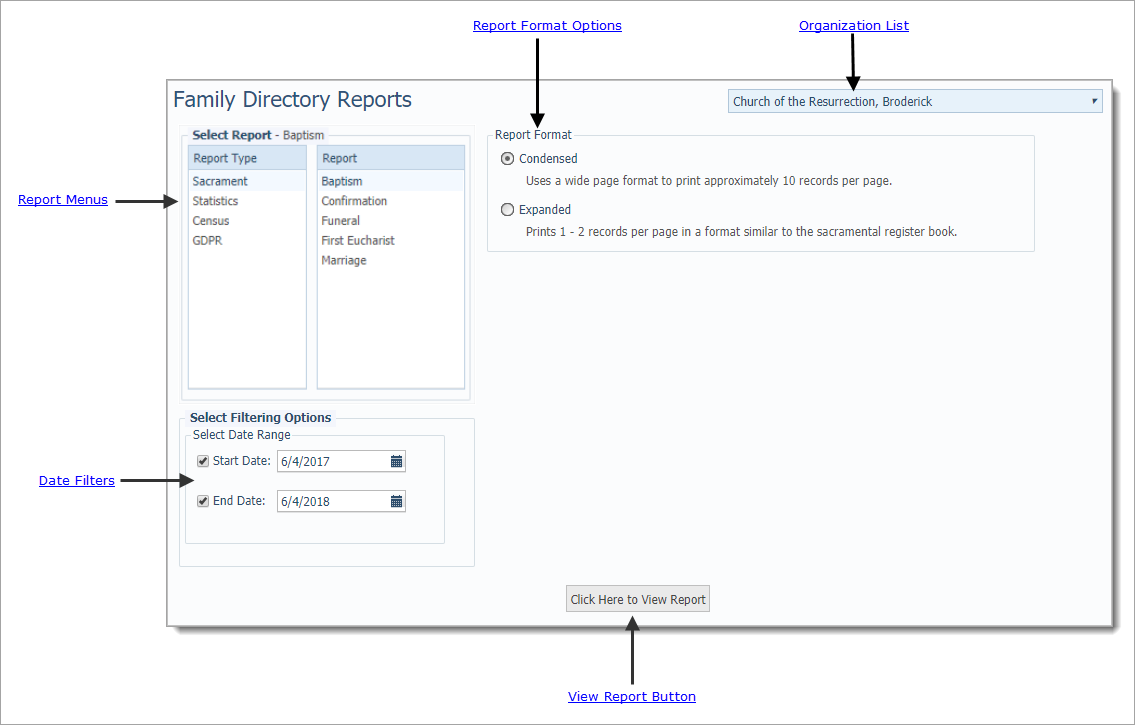
The Family Directory Reports page enables you to setup and create a report. You can apply date filters to specify a specific date or a date range for the report. Then, you can view, save, or print the report in the Report Viewer.
The illustration below identifies the main areas on this page. Place your mouse pointer over a link (without clicking) to view a general description of an area. Click the link to jump to the section on this page that provides more detailed information.

The Report Type menu lists the types of reports that you can create. When you select a report from the Report Type menu, a list of related reports is shown in the Report menu:

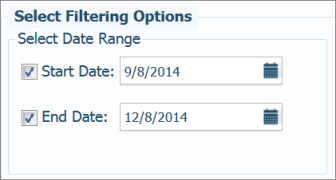
Date filters enable you configure a date range for the selected report. By default, the Start Date and End Date boxes are selected.
![]() For tips on
using the calendar to set a date, see How
to Use the Calendar to Set a Date.
For tips on
using the calendar to set a date, see How
to Use the Calendar to Set a Date.

● To
specify a specific date range, click the respective calendar buttons  for the Start Date and
End Date fields and select a date from
each calendar.
● To specify an open-ended date range, deselect both the Start Date and End Date boxes.
● To
specify a specific start date only (with an open end date), leave the
Start Date box selected. Click  and choose the
date from the calendar. Deselect the End Date
box.
● To
specify a specific end date only (with an open start date), deselect the
Start Date box. Leave the End
Date box selected. Then, click  and choose the
date from the calendar.
Two report options are available:
● Condensed: this option is designed to save paper because it uses a wider page layout that enables you to print approximately 10 records per page. The system keeps the contents of individual records together and does not split the contents across pages. If information in a column is too long to display in the allotted space, it wraps to the next line. This version of a report is suitable for a parish to submit to a diocese.
● Expanded: this option prints one to two records per page.
The organization associated with your ParishSOFT login credentials automatically appears in the Organization list, which is located in the upper-right corner of the Reports page.
● If you manage multiple organizations, select the organization whose records you want to access from the list.
● If you want to view records for all of the organizations you manage, select All Organizations.
Only the organizations for which you have access rights and permissions to view are displayed in the list.
![]() If
you are returning to the Reports
page from another page in the application, be sure to check which organization
is currently shown in this menu. The organization defaults to the one
selected when you last visited the page.
If
you are returning to the Reports
page from another page in the application, be sure to check which organization
is currently shown in this menu. The organization defaults to the one
selected when you last visited the page.

 displays the selected report in the Report
Viewer.
How to Create a Sacrament Report
How to Create a Kenedy Statistics Report
How to Create a Parish Statistics Report
How to Create a Parish Directory Listing
How to Create Registration Forms
How to Create a Forgotten Members Report
How to Create a GDPR Forgotten Families Report
How to Create a Life Events Report
How to Create a ParishSOFT Giving Added Families Report
How to Print, View, and Save Reports
How to Use the Calendar to Set a Date