 , Report Viewer is displayed.
Report Viewer enables you to preview reports before you print, save, or upload them to the Web.
Report Viewer Toolbar Functions
Printing a Report or Mailing Labels
Publishing a Ministry Schedule to the Web
After you configure a report as described in the topic How to Configure a Report and then click , Report Viewer is displayed.
The following illustration shows you a preview of a sample report in Report Viewer:

Use the buttons in the Report Viewer toolbar to perform additional actions, such as printing and saving the report,
The toolbar at the top of Report Viewer contains buttons that enable you perform such functions as print, save, and display specific pages in a report.

To view the function of a button, position your mouse over it to display its tooltip, as shown in the above illustration. To activate a function, click the desired button.
The toolbar has two printer buttons:
●  prints the entire report or list of mailing labels.
●  prints the selected page only.
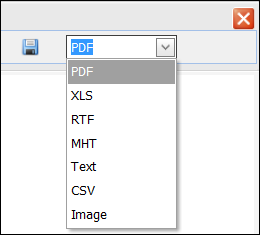
You can save reports in a variety of formats, including text (.txt), comma-separated value (.csv), Microsoft Excel (.xls), and Portable Document Format (.pdf).
 .
. .
.● To display a specific page of the report, select the page number from the Page box.
● To page through the report, click the page forward or page backward buttons.

Click  to close Report Viewer. This button is located in the upper-right.
 .
.The schedule is displayed in the POL Scheduler Viewer.
 .
.A message is displayed to inform you that the HTML report was successfully uploaded.
![]() If the report fails to upload, check to see that you have the Ministry Schedule option selected on your ParishesOnline Web page.
If the report fails to upload, check to see that you have the Ministry Schedule option selected on your ParishesOnline Web page.
 to remove the message and return to the Ministry Scheduler Reports page.
<Back to schedule creation diagram>