Click  to display the Religious Education Reports page.
In the left panel, select the Class Attendance Sheets & Records option to display the report setup:
This topic shows you how to create printable blank attendance sheets that you can use to record student attendance. You can also create printable attendance reports for any class that has a schedule and at least one saved student attendance record.
Attendance Sheet and Records Configuration Options
Click to display the Religious Education Reports page.
In the left panel, select the Class Attendance Sheets & Records option to display the report setup:
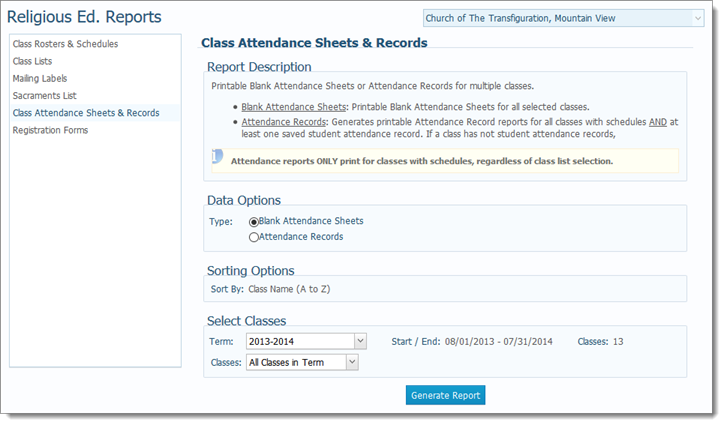
In the right panel, select the desired data and sort options to configure the report. For descriptions of the report options, go to the table in this section: Attendance_Sheet_and_Records_Configuration_Options.
Then, select the term and classes to include in the report.
Click  .
.
The report opens in the Report Viewer where you can save, print, or export it. For instructions on using the Report Viewer, go to How to Print, View, and Save Reports.
The table below lists and describes the options available to configure attendance sheets and attendance records.
|
Option |
Description |
|
Data Options This section includes options that let you choose the content of the report. |
|
|
Type |
|
|
Sorting Options This section includes options that determine the order in which the information in the report is presented. |
|
|
Sort By |
Class Name (A to Z): the report is organized in alphabetic order by class name. |
|
Select Classes Provides options that let you choose the classes to include in the report. |
|
|
Term |
Lists all terms in your program. Select the desired term from the list.
The system shows you the start and end dates of the selected term along with the number of classes and students currently enrolled in the term. |
|
Classes |
These options specify how you want to view classes in the report:
|
About the Religious Education Reports Page
 to add the class to the