How to Create a Pledger List Report
The Pledger List report
provides the names of individuals who have made pledges to specific funds
you select in the report setup.
If you manage several
organizations, select the organization whose records you want to work
with from the Organization
list.
Click  to display the Offering
Reports page.
From the Category
menu, select Pledges. Then, select
the Pledger List option from the Report menu.
The configuration for the Pledger
List report is displayed.

The  tab shows all of
your organization’s funds.
 The list includes only those
funds for which you have Offering View > Print permissions
assigned in your staff record.
On the  tab, do one of the following:
 If the fund list
is long, try using the column
header filters to locate the fund or funds you want to work with.
 Be aware that selecting
the All Funds checkbox includes only those funds on the page you are viewing.
If you want to include all of your organization’s funds in the report,
you must first select the checkbox (you can select it on any setup page).
Then, select the Select all records
link that appears above the list of funds.
Click  to
advance to the Filters tab. Specify
the date range for the period the selected funds began accepting pledges.
Click  .
.
The report opens in the Report
Viewer.
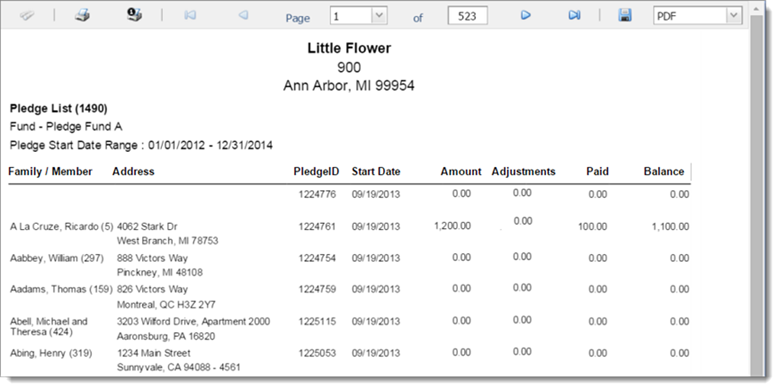
If an individual is a pledger to the selected
funds, his or her name appears in the report along with the following
details for the pledge: pledge amount, amount paid, and balance owed.
The following illustration shows you an example
of the Pledger List report:

Use the toolbar controls
at the top of the Report
Viewer to page through the report, export it and save it to your
computer, or print it.
Related Topics
About
the Reports Page
About
the Report Viewer
<Back
to top>
 to display the Offering
Reports page.
 tab shows all of
your organization’s funds.
 to
advance to the
  .
.