How to Add a Schedule for a Class That Has No Schedule
If you did not create a schedule for a class when you added the class to your program, use the procedure in this topic to create a schedule for the class. Adding a schedule for class is not required. However, a schedule enables you to associate dates, times, and rooms with a class and view schedules on a calendar. If you want to take attendance for a class, you must create a schedule for the class.
- Click
 to display the Classes page.
- In the left panel. select the Class List tab. Then, complete the following:
- Select the term the class is held in from the Term list.
- Select Class from the View By list.
- From the list, select the class whose schedule you want to create.
The top of the right panel displays summary information for the selected class.
- At the bottom of the right panel, select the Schedule tab. Then, click
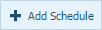 .
.
- Complete the following:
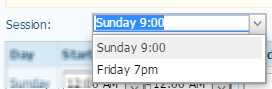
- Under Step 1, select the session from the Session list:
- Specify the start and end times for the class. The default time is 12:00 AM. To change the hour, select the hour and then type the hour or use the arrow keys to select the hour. To change the minutes, select the minutes and then type the minutes or use the arrow keys to select the minutes. To change the time of day, select AM and then use the arrow key to change to PM.
- Select the building and room.
The Availability column displays "All Available" if the system detects no scheduling conflicts.
- Click
 .
.
The system updates and shows you an initial schedule based on your time and building and room selections. For example:
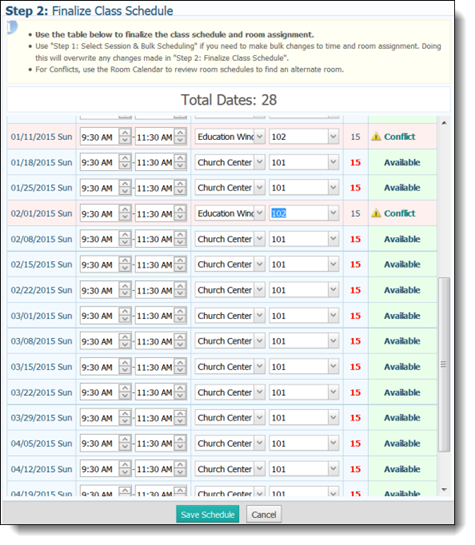
- You can now finalize the schedule. Under Step 2: Finalize Class Schedule, do one of the following:
- If all time and room assignments are available and no changes are required, you can save the schedule. Go to Step 7.
OR
- If you need to change any of the time and room assignments, make the desired changes. If the system identifies a conflict, you see this message in the Availability column:
 . To resolve a conflict, click to display the Room Availability calendar, which shows the source of the conflict. Use the controls above the room calendar to change the time or building location. Click
  to save the change and return to the schedule.
OR
- If the system identifies a conflict, you see this message in the Availability column: . To resolve a conflict, click to display the Room Availability calendar, which shows the source of the conflict. Use the controls above the calendar to change the time or building location. Click to save the change and return to the schedule.
- Click
 .
.
Related Topics
About the Classes Page
How to Change a Class Schedule
How to Record Attendance for a Class
<Back to top>