 to display the Member List page.
Creating Member Mailing Labels
Troubleshooting Misaligned Mailing Labels
to display the Member List page.If you manage multiple organizations, select the desired organization from the Organization list.
Select the members you want to create labels for. Choose one of the following methods:
Individually select the names of members from the Member List page. (Use the page buttons to advance through the list.)
Apply the basic or advanced filter to the Member List page to narrow down your list to a select group of members.
![]() The filters enable you to create a select list of members. If you do not set up any filters, all of your members will be selected. For help using the filters, see How to Filter Records.
The filters enable you to create a select list of members. If you do not set up any filters, all of your members will be selected. For help using the filters, see How to Filter Records.
For example, suppose you wanted to create mailing labels for all active, registered students in your Vacation Bible School workgroup. To do this, you would click  to display the advanced filter and select Registered, Student, Active, and Vacation Bible School as your search criteria and then click
  to load the filter settings:

From the Quick Reports menu, select Member Mailing Labels:

The Report Viewer opens to display your labels.
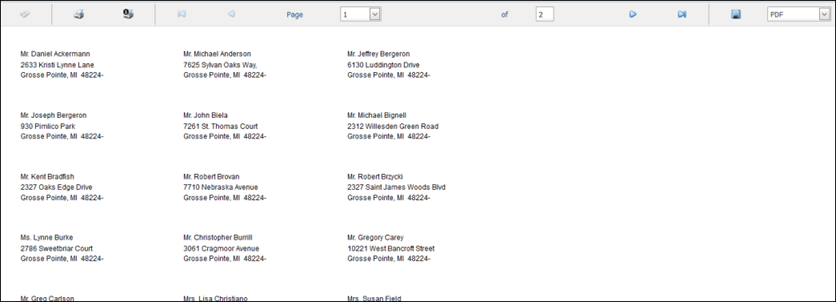
Using our filtered list example, the Report Viewer displays mailing labels for all active, registered students in the Vacation Bible School workgroup:
You can print your labels or save them to disk. For details, see How to Print, View, and Save Reports.
If you experience a problem with misaligned labels when printing from Chrome or Internet Explorer, choose a different browser or try one of the following methods to fix the problem:
When you print directly from Chrome, the Fit to Page control button is automatically selected by default, as shown in the following illustration:
![]() The Fit to Page control button is visible after the labels load in the Report Viewer and after you click one of the printer buttons at the top of the viewer. If you do not see the button, move your cursor to the bottom corner of the browser window to activate it.
The Fit to Page control button is visible after the labels load in the Report Viewer and after you click one of the printer buttons at the top of the viewer. If you do not see the button, move your cursor to the bottom corner of the browser window to activate it.
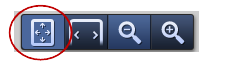
To fix the problem, disable the Fit to Page control button by clicking one of the zoom buttons. For example, click  . Then, print your labels.
When you print directly from Internet Explorer, the Fit option is selected by default in the Print window:
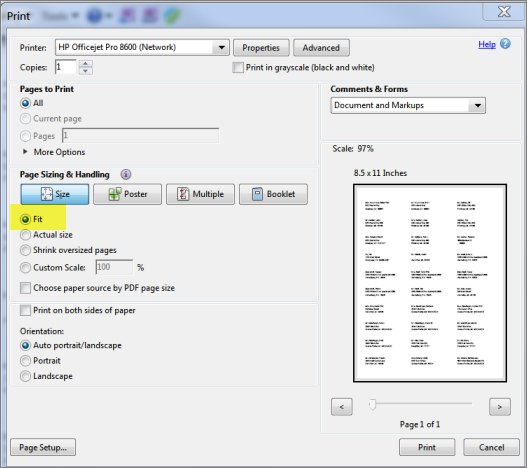
To fix the problem, select the Actual size option. Then, click  .
.
How to Print, View, and Save Reports