The Minister/Member Teams page contains settings that enable you to create and manage teams. By creating teams, you can connect ministers who have a common purpose but who are not in the same immediate family. Depending on specific scheduling needs, you can also specify that individual members of a team be kept together or kept apart.
The Teams page is divided into two sections:
● Available Teams: shows all of the teams in the selected organization. Contains command buttons to let you add a new team, edit existing teams, and delete a team.
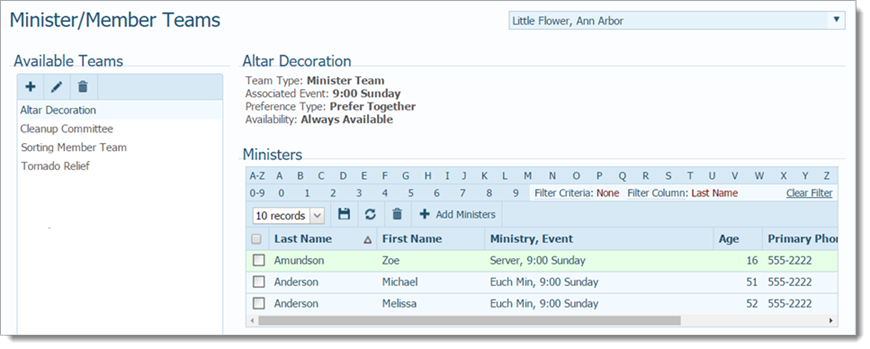
● Selected Team: the top portion shows the name and general information for the team selected from the Available Teams list. The bottom portion shows the names and contact information for individuals on the team. The system lets you create two types of teams: member teams and minister teams.
The following illustration shows you an example of the information provided for a member team. The section on the right shows the name of the team selected from the Available Teams list. You can see the names of all members on the team along with specific information for each member, such as the member's name, age, and phone number.

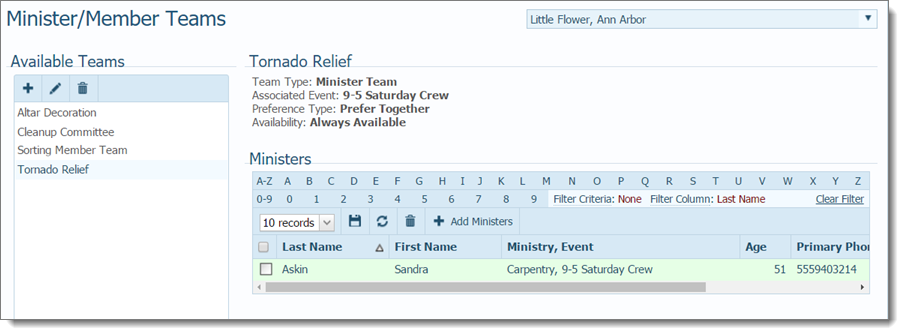
The following illustration shows you an example of the information provided for a minister team. The section on the right shows the name of the team selected from the Available Teams list. You can see the name of each minister on the team along with other pertinent information, such as the minister's name, age, and phone number as well as the specific ministry event the minister is assigned to.

The organization associated with your ParishSOFT login credentials automatically appears in the Organization list, which is located in the upper-right corner of the Teams page.

If you manage multiple organizations, select the organization that you want to view from the list to display that organization's teams. If you are returning to this page, be sure to check which organization is shown in this list. The list defaults to the organization you selected when you last viewed this page.
●  adds a team (see How to Create a Team).
●  edits details in the selected team record. If you are editing a minister team's record, go to How to Edit Details in a Minister Team's Record. If you are editing a member team, go to How to Edit Details in a Member Team's Record.
●  deletes a team (see How to Delete a Team) or a team member (see How to Delete a Minister or Member from a Team).
●  adds a minister to the selected minister team (see How to Add a Person to a Team).
●  adds a member to the selected member team (see How to Add a Person to a Team).
●  permanently saves your layout changes.
●  resets your layout changes back to their original (default) settings.
The alphanumeric filters, located at the top of the directory, provide a way to help you manage team views and drill down to the exact records you want to see. For instructions on using the filters, see How to Filter Records.

Click the Clear Filter link to reset the alphanumeric filter settings.
● Horizontal Scroll Bar

Each team member's record occupies a single line that extends beyond the width of the Teams page. To bring information that extends beyond the borders of the page into view, click and drag the horizontal scroll bar left or right.
● # Records Display
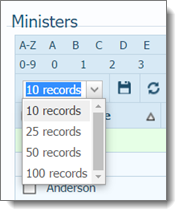
You can change the number records (default = 10) that are displayed on a page. To do this, select the desired option from the Records list:
![]() To speed up page loading, select a lower value.
To speed up page loading, select a lower value.

How to Edit a Minister Team Record
How to Edit a Member Team Record
How to Delete a Person from a Team