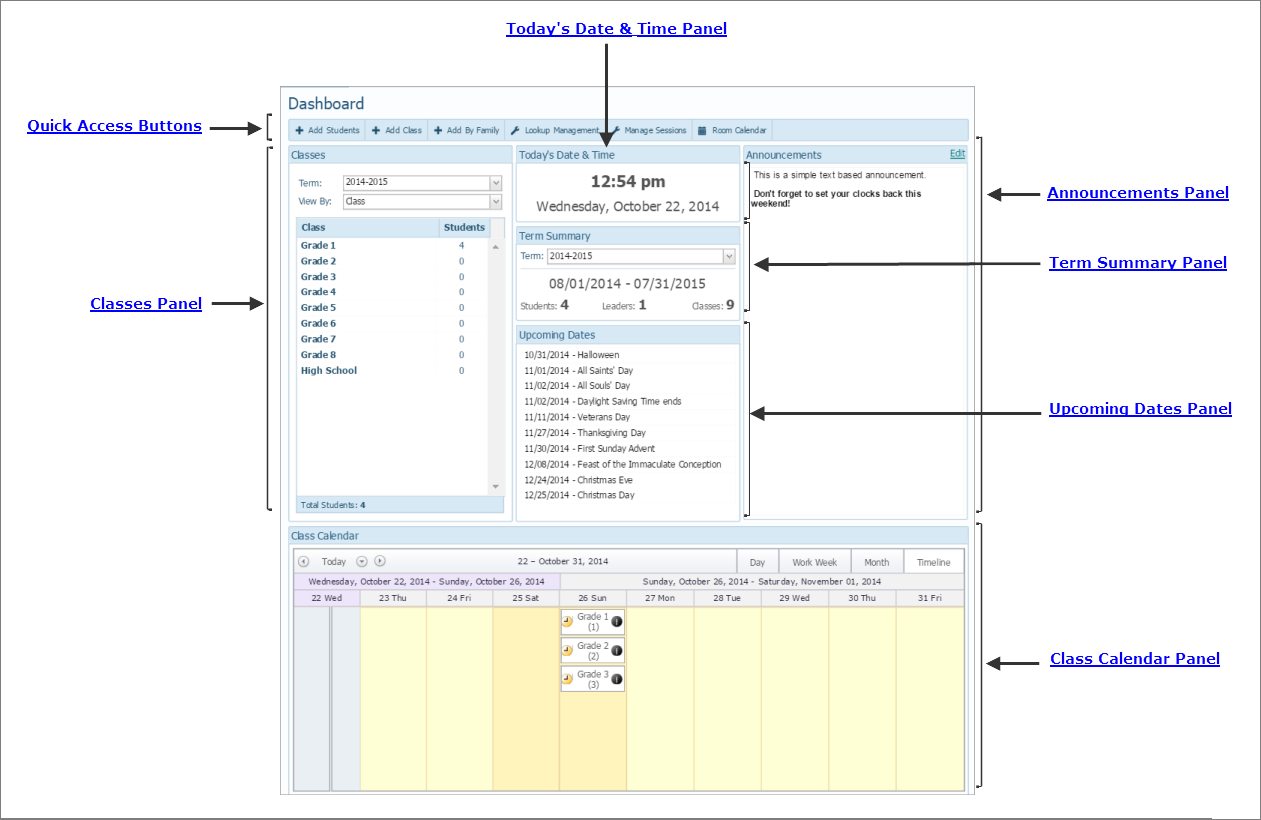
The Dashboard is the Religious Education module's Home page, bringing all of the major elements associated with your Religious Education program into complete view. When you first open the application, by default, the Dashboard page is displayed.
![]() If desired, you can change your Start page to any page in Religious Education as long you have permission to access that page. For instructions, go to How to Change the Start Page.
If desired, you can change your Start page to any page in Religious Education as long you have permission to access that page. For instructions, go to How to Change the Start Page.
The illustration below identifies the main panels on the Dashboard. Place your mouse pointer over a hyperlink (without clicking) to view a general description of a panel. Click the link to jump to the section on this page that provides more detailed information.
These buttons give you quick access to frequently used features in the application:
 opens the Add Students window where you can add students to a class.
 opens the Add New Class page. On that page, you can add a new class without a schedule or add a new class with a schedule.
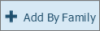 opens the Add Student by Family page where you can find the student's family and add the student to a class from within the family record.
 opens the Lookup Management page (in the Administration module) where staff with the appropriate access rights can manage records for in the application's lookup tables. You must have the appropriate access rights to view this page.
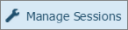 opens the Configuration > Sessions page where you can add, edit, and remove sessions. You can also view a session's details and, if necessary, add new dates or remove dates from the session.
 opens the Room Calendar window where you can select a building and room to see the dates and times classes are scheduled in the room.
The Dashboard has six main panels. These panels give you different views of your program's data and give you access to information you user daily.
Displays at-a-glance enrollment numbers for classes in the selected term.
● The Term list contains a list of terms created for your program. By default, the last term you selected is displayed on this page and on all other pages that contain a Term list (for example, on the Classes and Leaders pages). To display a different term's data, select the term from the list. The selected term becomes the new default selection.

● The View By list contains viewing options that let you choose how you want to view classes in the class list. You can view the list by grade, class, session, or day of the week.
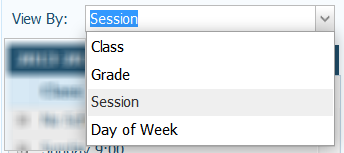
You can select one of four viewing options:
Class: displays a list of classes along with the number of students currently enrolled in each.
Grade: displays a list of grades. Clicking the  next to a grade expands the list and lets you view classes within the grade level along with the number of students enrolled in each class.
Session: displays a list of sessions. Clicking the next to a session expands the list and lets you view classes held during that session along with the number of students enrolled in each class.
Day of Week: displays a list of days of the week on which classes are held. Clicking the next to a day expands the list and lets you view classes held on that day.
Displays the current time and date. The date and time are controlled by your computer's clock (time zone and date and time settings).
Shows start and end dates for the selected term along with this census information: number of students, number of leaders, and number of classes. The default term is the last selected term. To view a different term, select it from the Term list.
Provides a list of traditional holidays and observances in the U.S. as well as special feast days and holy days on the Catholic calendar. You can use this calendar to help with planning class schedules and meeting times.
Displays organization announcements and notices. Use this area to broadcast news, alerts, and information to users who log in. For instructions on adding a news item to the panel, go to How to Add, Edit, or Delete Text in the Dashboard Announcements Panel.
Provides a calendar view of classes, holidays, and special events. Use the navigation and calendar view buttons to browse the calendar to view schedules on different days and in different views.
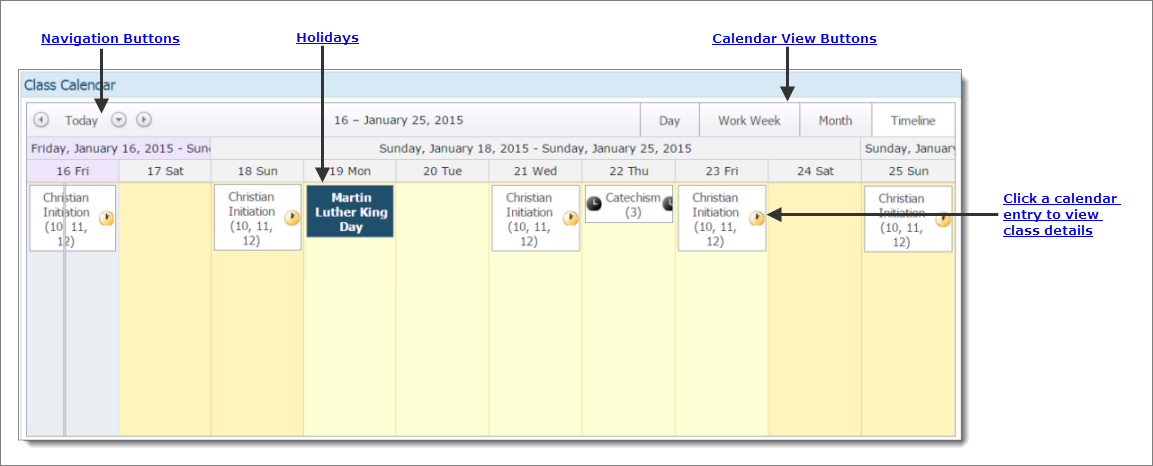
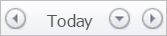
By default, the calendar highlights today's date. To change the date, use these buttons controls, located in the top-left.:
 : used with a calendar view button, this button takes you back to an earlier day or period in the past. For example, if you select Day as the calendar view, clicking this button take you to yesterday. On the other hand, if you select Month as the calendar view, clicking this button takes you back to the previous month.
 : lets you navigate to a specific day on the calendar to view its schedule. Click to open the calendar widget. Then, select the desired date. If necessary, use the controls at the top of the calendar widget to change the month or year.
 : used with a calendar view button, this button advances you to a day or period in the future. For example, if you select Day as the calendar view, clicking advances to tomorrow (the next day). On the other hand, if you select Month as the calendar view, clicking advances you to the next month.
The calendar shows national, Christian, and Catholic holidays.

The calendar view buttons enable you to switch calendar views to daily, weekly, monthly, and so on. There are five calendar view buttons, which are located in the top-right:
●  : displays a daily view of class schedules. Each hour is divided into half-hour segments.
●  : displays a work week view (Monday through Friday) of class schedules.
●  : displays a weekly view (Monday through Sunday) of class schedules.
●  : displays a monthly view of class schedules.
●  : displays class schedules horizontally so that you can view them in a timeline. The timeline is divided into weeks and days.
Clicking the calendar entry opens a window where you can quickly view details for the class.
![]() Click
Click  to close the class details window.

The name of the class is displayed at the top of the window. The number in parentheses indicates the grade. Additional details include the following:
● Room: click the link to open the room calendar. The building and room in which the class is held is selected.
● Students: shows the number of students currently enrolled in the class.
● Leaders: lists the class leaders along with their assigned roles. Clicking the name link opens the leaders' Member Details record in Family Directory.
● Reports: lists the quick reports you can generate for the class, such as a class roster, a birthday list, and an attendance sheet.
●  : displays Classes page where you can view a summary and details about the class. You can also view a list of names of enrolled students.
●  : opens the Attendance window where you can view a list of enrolled students and record their attendance for the date you select on the calendar.
How to Add Students to a Class
How to Add and Delete Announcements in the Dashboard Announcements Panel
How to Add a Student to a Class from the Family Record